Saturday, April 25, 2015

Poetry #1: Create book spine poems (Grade 7)

April is Poetry month and I have been doing poetry lessons with my various classes as a result.  I thought I would record these activities as blog posts. This particular activity called 'Book Spine' poetry was done with a Grade 7 class.

Background
Recently I read a post by Ken Nesbitt on the Poetry4kids blog on writing Book Spine Poetry  http://www.poetry4kids.com/blog/lessons/how-to-create-book-spine-poetry/ . This was quite a novel idea I thought. It seems that you get your students to arrange book titles and make a poem from them. For example, in Ken Nesbitt’s post a group of arranged books are shown as:

Book Spine Poetry
The resulting poem could be:
"Don’t Let the Pigeon Drive the Bus!
Oh, The Places You’ll Go
Where the Wild Things Are”

My Spine Poetry idea with a Grade 7 technology class
I thought I might do the spine poetry lesson slightly differently. I would take a pile of books to school and let each student take five of them and arrange them carefully in spine order. They would take a photo of the books and then create their own spine poems from the words, adding their own words to the spine title words as well as, of course, a title. They could also take photos of their arrangement to illustrate their created poems

Applications to use
PC:
camera, PowerPoint
iPad: camera; Keynote OR Write about this free
Android: camera, Google slides

The lesson
We used PowerPoint to record the poems and a digital camera to take the photos.  The lesson went very well and the students enjoyed creating poems in this novel way. They read out their poetry creations to the rest of the class.   I loved their creativity…

The results
Here are a few of the examples:
image image
image image
image image
image image
image image

The next step

I encouraged them, as an optional activity,  to use their books at home to create spine poems and email them to me using their Google Apps accounts.

Wednesday, April 22, 2015

The Colour Poem Global Twitter Project #3 (Week 2): ORANGE poems with Grade 3

We have joined the Colour poem Global project started by Linda Yollis  http://goo.gl/YtbFkg.  The Grade 3s did Orange Poems today as this is the Orange week. What I love about Global projects like these is that the students also enjoy them and participate fully. They love looking at the Twitter hashtag to see what other learners from other countries have written.

Skills learned
We used PowerPoint and we learned the following skills:
  • After creating the poem, centring the words to make it look like a poem 
  • Using Google Images to find many orange images 
  • Formatting the background and selecting a matching colour
  • Keeping to a diamond shape and using nouns, adjectives and adverbs
Creating the poem
We decided to do a diamond-shaped 9-lined poem all related to the orange pictures they had selected,  with the format of:
One word
Two words
Three words
Four words
Five words
Four words
Three words
Two words
One word

Examples

Here are some examples:

image image
image image

My evaluation of the lesson
Everyone got finished in this lesson. However sme left out the middle line of five words. It was a fun lesson with everyone thinking around orange. The learners loved it.

Wednesday, April 15, 2015

The Colour Poem Global Twitter Project #2 (Week 1) RED poems with Grade 2

We have joined the Colour poem Global project started by Linda Yollis.  The Grade 2s did Red Poems today. What I love about Global projects like these is that the students also enjoy them and participate fully.

Skills learned
We used PowerPoint and I we learned the following skills:
  • Writing a poem in a triangle shape
  • Adding a triangle shape to the poem and sending it to the back
  • Formatting the shape and selecting red
  • Using Google Images to find a red image

Creating the poem
I brought a number of red items to school and we took turns, on the mat, examining them and trying to describe them. We chose six of them to write about and had to keep to the triangle shape to write the poem. Once the poem was written we selected a triangle shape and place it over the poem. We sent it to the back.


Examples
Here are some examples:
image image
image image

Evaluation
Not everybody finished in time, but the class enjoyed the lesson.

Tuesday, April 14, 2015

The Colour Poem Global Twitter Project #1 (Week 1): RED poems with Grade 1

I met Linda Yollis at the New York Google Teacher Academy – and since I had been a great fan of her blog up till then meeting her in person was a great highlight! When I noticed recently that she had started a Colour poem Global Twitter project I was very keen to join http://goo.gl/YtbFkg.

The goal of the project

The object of this collaborative project is to share original poems, create colourful digital images, and publish through classroom Twitter accounts using the hashtag #clrpoem! Each week a colour of the visible spectrum will be showcased! We’ll be following the colour spectrum ROY G BIV (red-orange-yellow-green-blue-*indigo-violet) 

Step 1: Create a class Twitter account
I set this up, after much thought as @ICTclasstweets:

image

Step 2: Get busy with Week 1 of the project
Mrs Yollis’ instructions: “This week, we are seeing RED! Shoot a photo of something red, compose a little poetry to complement the photo, and tweet it out! Remember, use the hashtag #clrpoem”. I thought I would involve my Grade 1, Grade 2 and Grade 3 students in this project.

Step 3: Take a look at the hashtag #clrpoem
The Grade 1s and 2s loved looking through this hashtag and reading the tweets about red poems.

image


image


image


Step 4: Get started with Red Poems from Grade 1
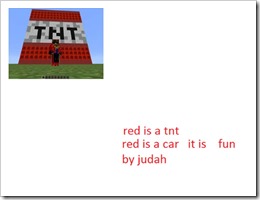
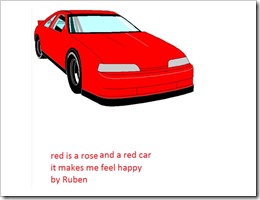
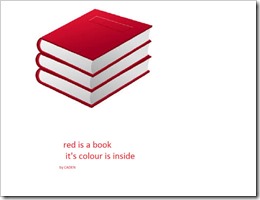
I thought we would start with Grade 1 doing the colour RED. We did our poems during ICT class using Microsoft Paint. It worked really well as we were able to save these as JPEGs immediately.

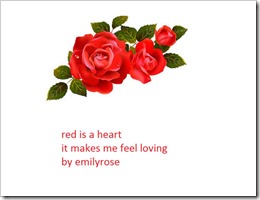
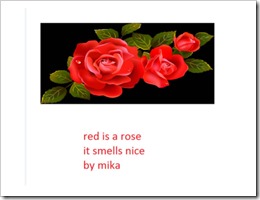
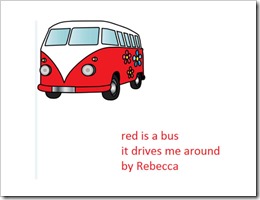
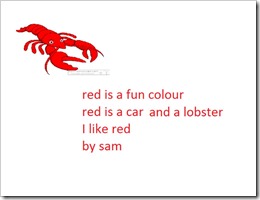
Slide1 Slide2
Slide3 Slide4
Slide5  Slide6 
Slide7  Slide8
Slide9 Slide10

I thought I would tweet Mika’s using the #clrpoem hashtag!

Evaluation
This was quite a mission with Grade 1s! We did this in steps:
  • We read other people's poems first on the  #clrpoem hashtag and discussed the images.  
  • We learned how to open Google Images using Chrome and we searched for red items. They pasted their image into Paint.
  • We used the Text option and started writing. I walked around helping them to spell words.
  • We saved the work.
  • We got finished! (I wondered if we would)

Monday, April 13, 2015

GVC#16 Our team has been selected as semi-finalists in the Global Virtual Classroom Contest! How exciting!

image


We received an email today from the project co-ordinator:

Dear GVC Semi-Finalists, 

Your GVC Team has been selected as one of the top six finalist in your division of which three teams will be judged as GVC award winners. 

The Judging process is still on-going and will be completed by the end of April. ….Good luck to all!
At this stage all our websites are not yet open to the public.

This is SO exciting!

Friday, April 3, 2015

A report back on The Microsoft Classroom Roadshow in Cape Town...

This is a cross-post of a post I wrote for the SchoolNet blog about the Microsoft Roadshow in Cape Town, and which I attended this past week. 

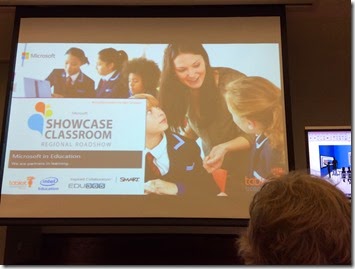
Microsoft has been running a series of Microsoft Classroom Showcase Roadshows in four venues around the country. School leaders and educators were invited to participate in an afternoon showcase experience to demonstrate how Windows 8 Tablets, Office 365, Microsoft Professional Development and other education tools and resources can help to transform learning. The right technology in the hands of educators with access to the best solutions and pedagogical training will create a force that truly transforms education across South Africa and Microsoft was keen to demonstrate their offerings.   The hashtag used for this groups of Roadshows is #MDEdutour

IMG_3212

IMG-20150331-WA0001
These are some of my takeaways from the Microsoft Roadshow held in Cape Town on Tuesday 31st March from 12:30 – 5pm.

1. The Office 365 tour presented by Jaye Richards-Hill
Jaye Richards-Hill from the Tablet Academy is an Office 365 expert and after Angela Shaerer had opened the event Jaye took to the podium with an amazing tour of Office 365.  She started off by enlightening us on the changing education landscape and reverted to her own educational experiences as a Science teacher whilst in Glasgow.

One Drive
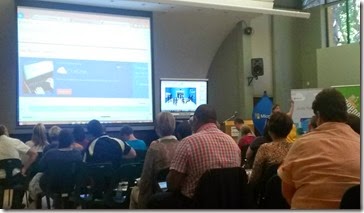
Jaye started with a demonstration of One Drive which is a free Microsoft site in the cloud that hosts Microsoft Office online plus 15GB of storage space. For Office 365 users One Drive offers unlimited storage. Providing schools with connectivity is the first priority so that teachers can use the cloud for storage.  

IMG_3217
As a teacher, whether you are using Office 365 or whether you are not, One Drive is a great place to create, store and share all your documents, assessments, planning etc. One Drive is the free part of Microsoft online. One Drive also allows collaboration via the sharing of documents. She likened One Drive as a digital filing cabinet.

Yammer
This is a social network that is built into Office 365.  It is like using Facebook in the class.
Image result for yammer

Yammer integrates like a social network down the side of the document which is built into Office online. Yammer offers praise cards, comments, groups etc. One can create a closed group e.g. Class Natural Cciences group. Yammer is an internal network, but a teacher can create a network with external people such as parents and caregivers. Yammer could be a way of strengthening home and school collaboration.
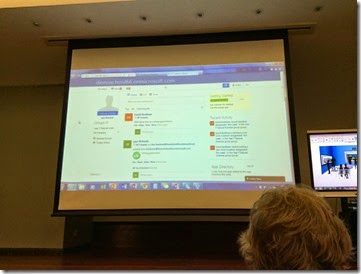
IMG_3218

Sites
Sites is an online space where students can personalize their site For example: Grade 10 Art site shown above. It is a place to give assignments, share documents etc. Sites is like a blog, a place for sharing creative writing or other files of collaborative work. One can also integrate external Apps into Sites. 

IMG_3219 IMG_3220
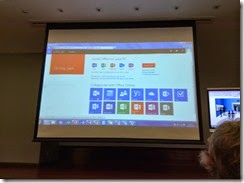
All these tools and service work together.  Other tools and apps work through Office 365.  MSN apps in Windows 8 are good. Free content is available.

OneNote Class Notebook
This is the Microsoft product most like Google Classroom.  Work with students in lots of different ways. This can be set up in Office 365 and also in One Drive. Go to One Drive, select Apps and add OneNote online. To set it up is a four step process…very simple. You can assign students and teachers. It is a collaborative site where you can add sound clips, movies etc as well as documents. Storage space is limited so it is best to add links to media on external sites.

IMG_3222


One can summarise lecture notes using OneNote for better recall and understanding. One can also use OneNote offline and synchronise when online again.

Office Mix
You can turn PowerPoint into a great tool for reading and teaching by adding the Office 2013 Office Mix add in for extra functionality. It includes polls and quizzes and is great for flipped classroom use.  It also has whiteboard functionality. You can embed a video of yourself explaining what is being shown. You can also add a screen recording, a sound byte, a quiz or a poll as mentioned or a free response questionnaire

IMG_3223 IMG_3224
Once created you can upload to the Office Mix Gallery and share with others. There is a is a growing repository of resources on the gallery.

IMG_3227


Best is you can also get starts of how many have watched each slide and how long they spent on it.  Analytics and data for each slide assist in adapting the presentations to suit the grade.

IMG_3225 IMG_3226
Office Sway
Sway is similar to Slide Rocket or Prezi and is another creative way to present your information. You can add images, text, videos, documents, colours etc to make the Sway. You can even add channels to make the presentation. PowerPoint can be changed into sways.  Jaye gave a quick demonstration on how to make a Sway.  She also went through the SAMR model of technology integration (SAMR - teachers adopting technology....augmentation, modification redefinition)  which she presented on a Sway.
IMG_3229 IMG_3231
This was a clear and excellent presentation all round. Jaye gave many examples of how these tools were being used effectively in the classroom – I thoroughly enjoyed listening to this.

2. Presentations by #MIEExpert15 educators
At the roadshow we had some great presentations from our local Microsoft Innovative Educator Experts (#MIEE15) for 2015.

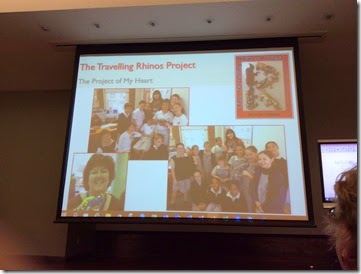
a) Karen Stadler’s Save our Rhino project
Karen really wowed us with her presentation about this very successful world-acclaimed project which she calls the ‘project of her heart’. Her project wiki can be found at http://saveourrhinos.wikispaces.com/. Large numbers of schools in every continent are participating in this project.  This project has clearly developed a life of its own as it brings awareness of the disastrous poaching of rhinos for their horns.

IMG_1897


b) Linda Foulkes shared on One Note and other Microsoft products
Linda is an expert when it comes to using Microsoft tools effectively. She shared so many nuggets on using One Note in the classroom. She feels that OneNote is an underrated collaborative app. She encouraged all teachers to explore the Microsoft Educator Network. Linda will be facilitating a MicrosoftMeet at Bishops on Saturday 16th May 2015 from 10:00 – 12:00 am.
IMG_1898 IMG_1900

A MicrosoftMeet (like a TeachMeet) is to be held at Bishops on 16th May from 10:00 – 12:00 am

3. The last two presentations of the day were from Microsoft Partners
a) Karen Durand from Smartboards gave an inspiring demonstration of how a teacher and a class can benefit from using a Smartboard in the classroom
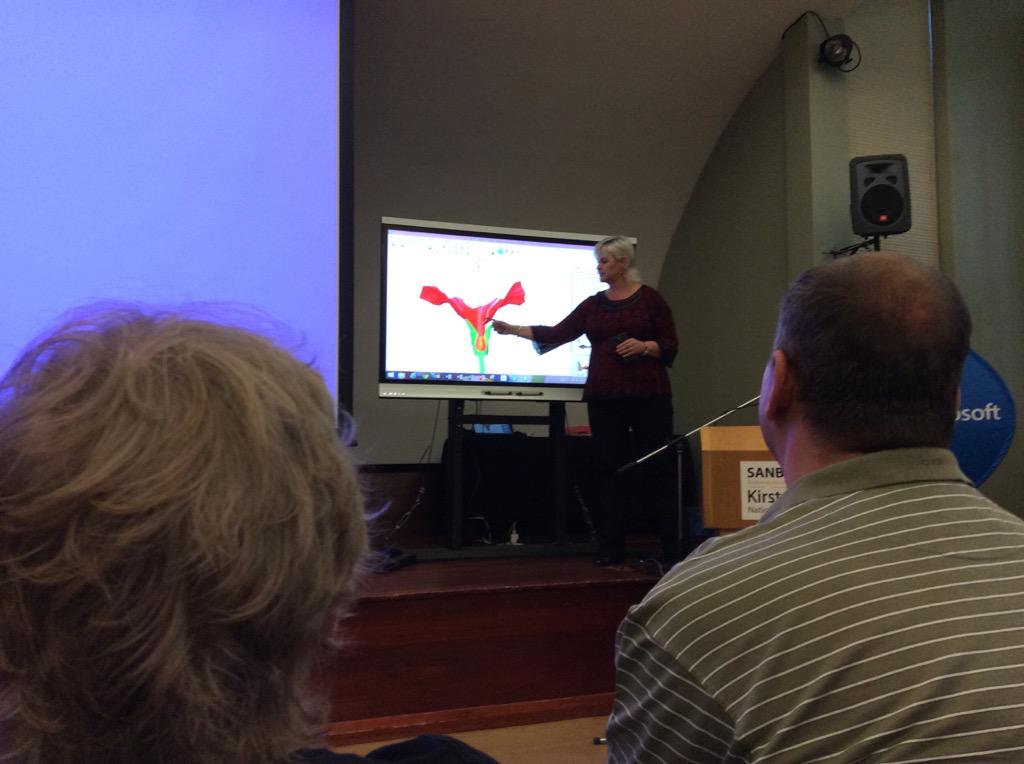
View image on Twitter

b) Brad from EDU365 informed us about the company’s many offerings for teachers.
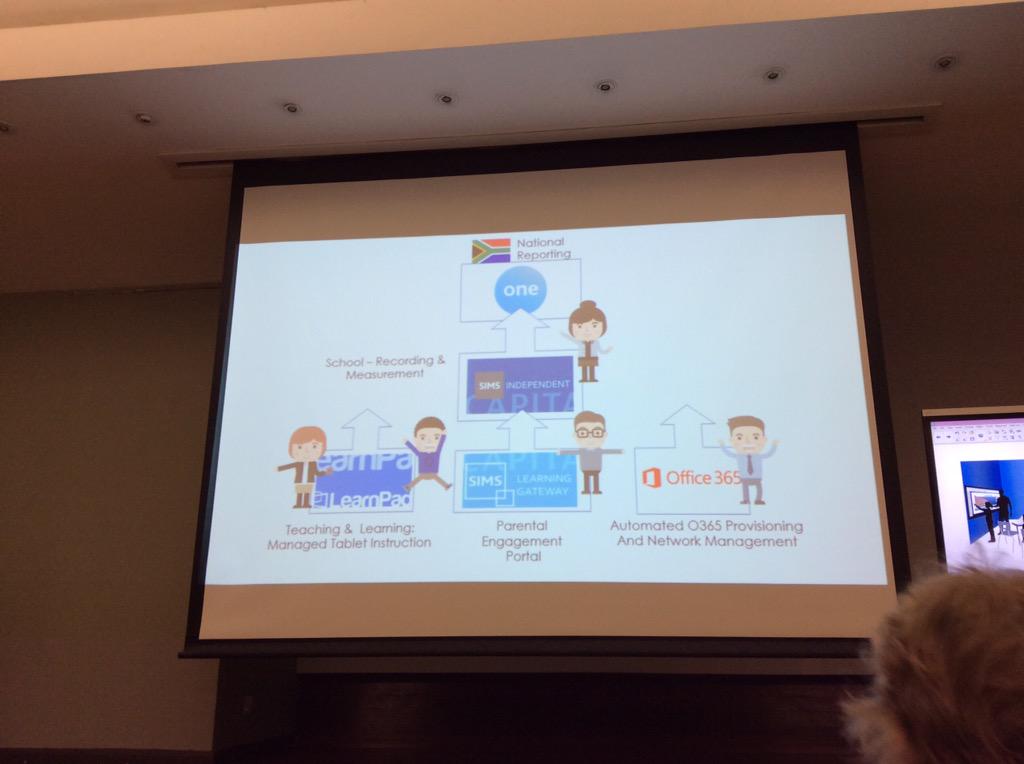
View image on Twitter

This was definitely a most informative afternoon – an afternoon well spent.  Thank you to Microsoft for bringing this Classroom Roadshow to Cape Town.

A collection of the tweets on Storify
A collection of tweets from the afternoon can be found on this link: http://bit.ly/1DUkY8w